Fiber optic cables are essential for modern communication, carrying massive amounts of data with speed and precision. If these cables are damaged, dirty, or poorly connected, your network performance suffers. Testing them ensures clear signals, stronger connections, and long-lasting reliability. In this guide, we’ll explain how to test a fiber optic cable using simple tools and professional methods. You’ll learn step-by-step instructions, discover common issues, and see why expert testing services are worth it.
Understanding Fiber Optic Cables and Their Importance
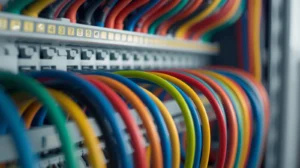
Fiber optic cables are designed to carry light signals instead of electricity. This makes them faster, more secure, and less prone to interference compared to copper cables. Inside each cable are thin strands of glass or plastic fibers, each about the thickness of a human hair. These strands move information at the speed of light, making them perfect for internet connections, business networks, and even medical technology.
Because they are so small and delicate, fiber optic cables can be easily damaged if bent too much, cut, or left dirty. Even tiny particles of dust can block the flow of light and reduce signal strength. That’s why knowing how to test optical cable is so important. Without proper testing, small issues may go unnoticed until they create major disruptions.
Why Testing Fiber Optic Cables Matters for Reliable Connections
Think of fiber optic cables as the highways of your data. If the road is blocked or damaged, traffic slows down or stops. The same happens with fiber optics if the cable is dirty, bent, or broken, your signal suffers.
Testing fibre optic cables helps detect problems early. Instead of waiting for a complete failure, regular checks ensure performance stays strong. For businesses, this means fewer interruptions, smoother operations, and less downtime. For homes, it means faster streaming, clearer calls, and dependable internet.
By testing fiber, you’re not only checking the quality of today’s connection but also protecting the long-term health of your network. It’s much cheaper to fix small issues discovered during testing than to replace large sections of cable later.
What Is Fiber Optic Testing and How Does It Work?
Fiber optic testing is the process of checking how well light passes through a cable. Since fiber optics use light instead of electricity, testing requires different tools. The goal is simple: make sure the signal is strong, clear, and uninterrupted.
There are different ways to test fiber optic cable. Some tests are quick and basic, like shining light through one end and checking if it exits the other. Others are more advanced, using tools to measure the amount of light lost or the exact location of a break.
When testing optical fiber, the results are usually compared to set standards. If the light loss is within an acceptable range, the cable passes. If not, it may need cleaning, repair, or replacement.
Types of Fiber Optic Cable Testing Methods Explained
Different testing methods are used depending on the size of the network, the type of installation, and the equipment available. Here are the most common approaches:
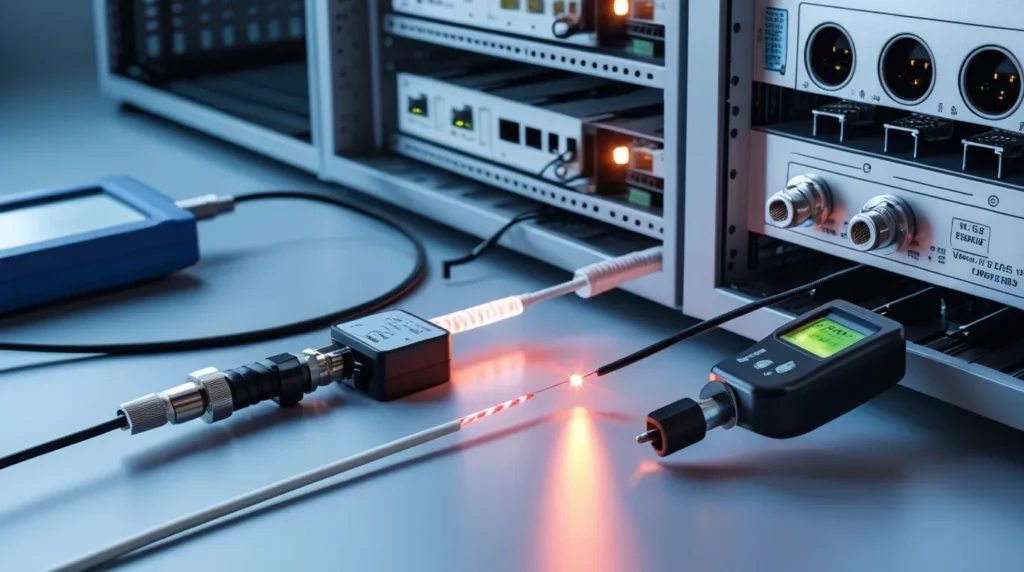
- Visual Testing: A visual fault locator (VFL) shines bright red light into the cable. If there’s a bend or break, the light escapes at that point. This helps quickly locate physical damage.
- Optical Power Testing: A light source is connected to one end of the fiber and a power meter to the other. This test measures how much light was lost during transmission.
- OTDR Testing: The Optical Time-Domain Reflectometer sends pulses of light down the cable and measures reflections. It can detect breaks, splices, or bends over long distances.
- Continuity Testing: A simple test where light is sent through the cable to check if it reaches the other side.
Each testing fibre optic cable method has its strengths. For small setups, visual or continuity tests may be enough. For larger networks, optical power or OTDR testing is more reliable.
How to Test a Fiber Optic Cable: Step-by-Step Guide
Here’s a simple, practical guide anyone can follow:
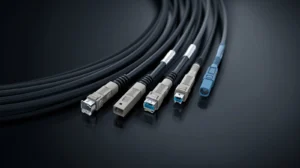
- Get the Right Tools: You’ll need a power meter and light source or a visual fault locator.
- Clean the Connectors: Dirt and dust are the biggest problems in fiber optics. Always use cleaning kits.
- Set Up the Test: Connect the light source to one end and the power meter to the other.
- Turn on the Light: Send light through the cable and measure how much comes out.
- Check the Results: Compare the reading to industry standards. Too much loss means the cable has an issue.
This step-by-step method gives a clear answer to how to test a fiber optic cable. By repeating the test on different sections, you can quickly find where the problem lies.
How to Test Optical Fiber Cable Safely and Effectively
Safety is just as important as accuracy. Fiber optic strands are tiny but sharp, and they can cause injury if they get into your skin or eyes. Here are safety tips:
- Always wear protective glasses when working with fibers.
- Never look directly into the end of a cable connected to a light source. The light is invisible but dangerous.
- Dispose of fiber scraps properly in a sealed container.
- Handle cables gently to avoid creating bends that could damage them.
Testing optical fiber cable isn’t just about the right tools. It’s also about careful handling and following best practices to keep both you and your cables safe.
Fiber Optic Cable Testing with Power Meters and Light Sources
One of the most common ways to test optical cable is by using a power meter with a light source. The light source creates a steady beam of light, while the power meter measures the output at the other end.
If the signal loss is low, the cable is in good shape. If it’s high, there may be dirt, bends, or damage. This method is simple but very effective for short and medium cable runs. It’s often the first test technicians use when troubleshooting network problems.
Because this method is reliable, many businesses keep a basic testing kit on hand. It’s cost-effective, easy to learn, and helps prevent downtime.
Testing of Optical Fiber with OTDR Technology
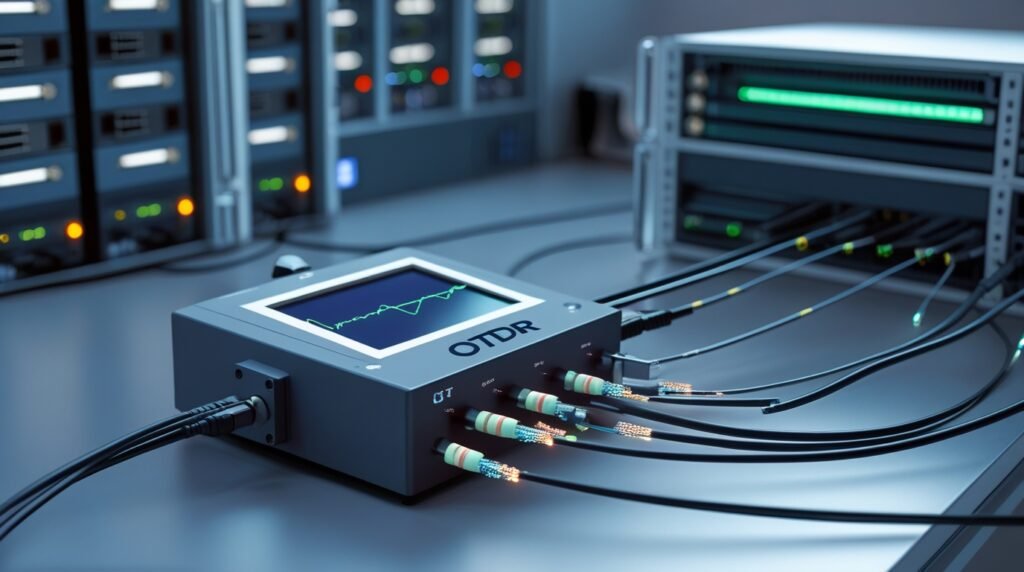
For more advanced testing, especially over long distances, an OTDR is used. The Optical Time-Domain Reflectometer works like radar for fiber cables. It sends pulses of light and measures how they bounce back.
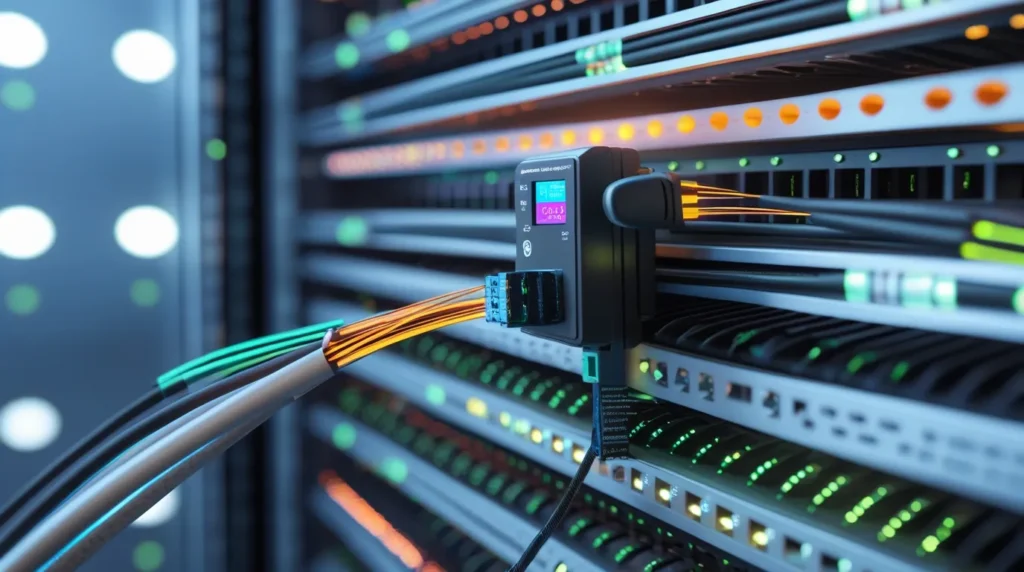
This testing of optical fiber provides a detailed map of the cable. It can show where connectors, splices, or breaks are located, along with the amount of light loss at each point. OTDR is especially valuable for large buildings, data centers, or outdoor installations where finding a problem manually would be too time-consuming.
While OTDR devices require more training, they offer unmatched precision. For anyone managing large-scale fiber optic networks, OTDR testing is a must.
Common Issues Found During Testing Fibre Optic Cables
Testing often reveals a few common problems:
- Dirty Connectors: Dust and oil from fingers block light.
- Excessive Bending: Sharp bends reduce signal quality.
- Poor Splicing: Badly joined cables weaken the connection.
- Cable Breaks: Cracks or cuts stop light completely.
- High Loss Levels: Too much light loss means weak performance.
The good news is that most of these problems can be fixed with cleaning, re-splicing, or replacing a short section of cable. Regular testing fibre optic cable helps spot them early before they turn into major outages.
Professional Test Fiber Optic Cable Services by Heritage Cabling in Dallas, TX
While basic testing can be done by anyone with a kit, professional testing ensures complete accuracy. Heritage Cabling offers expert services with advanced tools and experienced technicians. From power meter checks to OTDR mapping, their team makes sure every fiber runs at peak performance.
By hiring professionals, you save time and prevent costly future repairs. More importantly, you gain peace of mind knowing that your entire network is backed by expert care. For both small businesses and large enterprises, professional services are the safest path.
Final Thoughts on Keeping Your Network Strong with Proper Testing
Testing isn’t a one-time job. Just like you service a car to keep it running smoothly, fiber optic cables need regular checks. This ensures your connections stay fast, reliable, and ready for the future.
Even the best cables can develop issues over time. Testing helps detect them early and keeps your network strong. Whether you do it yourself with simple tools or hire experts like Heritage Cabling, testing is an investment in reliability.
Don’t wait until your network slows down. Schedule a fiber optic cable test with trusted professionals today and keep your system running at full speed.