Why Wired Networking Still Matters Today
In today’s world of Wi-Fi, many people forget the importance of having a wired network. But when you want the fastest and most stable internet, using network cables is still a smart choice. Wired connections are better for gaming, streaming, working from home, and using smart devices. If you’ve ever wondered how to install network cable in your home or office, it’s easier than you might think. A wired connection gives your devices a stronger and more secure link to the internet. It also avoids slow speeds and dropouts caused by crowded wireless networks.
Understanding the Types of Network Cables
There are different types of cables you can use to set up a network. The most common ones are Cat5e, Cat6, and Cat6a. These cables all use twisted pair cabling, which means they have small wires twisted together inside. This helps protect the signal from noise and interference.
- Cat5e is good for basic internet tasks and can handle speeds up to 1 Gbps.
- Cat6 is faster and can reach up to 10 Gbps over short distances.
- Cat6a supports the same speed as Cat6 but over longer distances with more shielding.
Each cable has its own level of performance, and the right one depends on how fast your internet is and what devices you plan to connect.
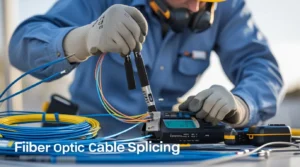
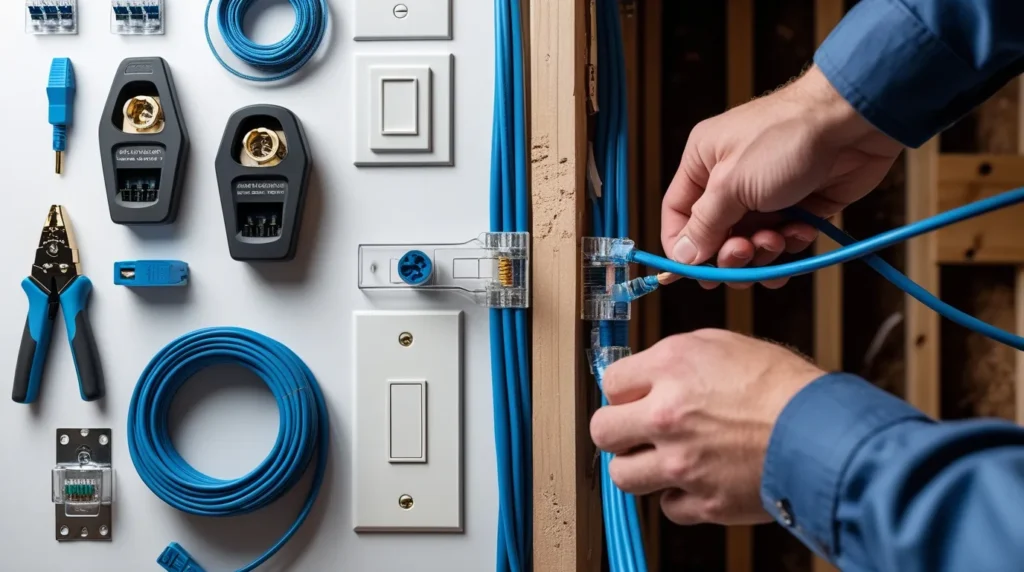
Tools and Materials You’ll Need to Install a Network Cable
Before you begin installing network cables, you’ll need a few simple tools. Here’s a helpful list:
- Ethernet cable (Cat5e, Cat6, or Cat6a)
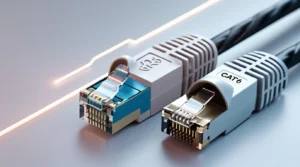
- RJ45 connectors for each end of the cable
- Cable tester to make sure everything works
- Wall jacks for neat connections
- Crimping tool to attach the connectors
- Drill and fish tape to help route cable through walls
- Patch panel for organizing multiple connections
- A network switch to connect all your devices
Having the right tools makes the job easier and ensures your setup works correctly.
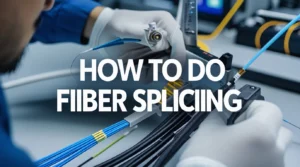
How to Install Network Cable: A Step-by-Step Overview
Installing a network cable may sound hard, but it’s something you can do with some time and care. Here’s how:
- Plan your layout – Decide where your devices will be and where your cables will run.
- Measure cable length – Make sure to leave extra length in case you need to adjust.
- Drill holes if needed – You may need to drill through walls or floors.
- Run the cable – Carefully pull the cable through walls, attics, or crawl spaces.
- Attach RJ45 connectors – Use a crimping tool to connect the plugs on each end.
- Test the cable – Use a cable tester to make sure everything is working properly.
- Connect to the network switch – Plug the cable into your switch or router.
This process gives you a clean, wired connection with better speed and reliability than Wi-Fi.
Planning the Route: Attic, Walls, or Crawl Space
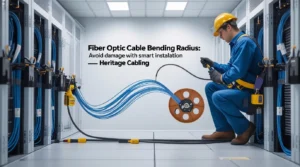
When running network cable through your home, you need to think about the best path. The cable can go through the attic, inside walls, or through the crawl space under your house. Use a fish tape or a cable rod to guide the cable through tight spots. Try to avoid running cable near electrical wires, which can cause interference.
Make sure you stay within the maximum cable length, usually 100 meters for Cat6, to keep the signal strength strong. Also, keep your cable runs neat. Cable management tools like clips or raceways help you avoid a messy setup and make future repairs easier.
Running Ethernet Cables Through Walls
If you want a clean look, hiding cables inside walls is the best option. To do this:
- Mark where the wall jacks will go. Use a pencil and a level to keep everything even.
- Drill a small hole at each spot, just big enough for the cable.
- Feed the cable through using fish tape or a cable rod.
- Attach a wall plate with a jack, then connect the cable to it.
This step takes more time but keeps your home looking neat. It also keeps your cables safe from pets and people. Just be sure to follow safety tips and avoid electrical lines behind walls.

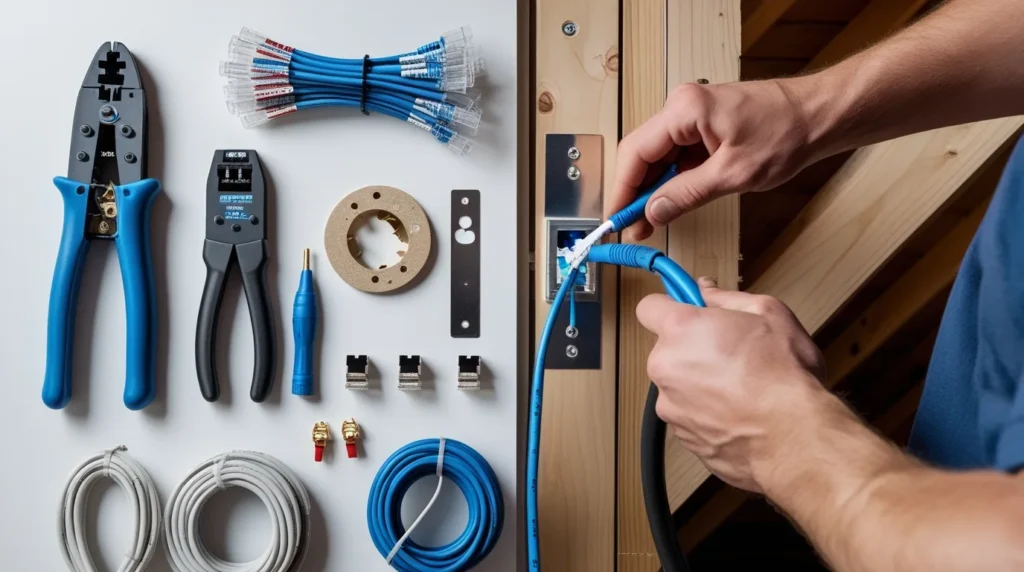
Installing Wall Jacks and Patch Panels Like a Pro
Wall jacks make it easy to plug in your devices. They are installed just like an electrical outlet. Once your cable is pulled through the wall, strip back a bit of the outer cover and connect the wires to the jack using a punch-down tool.
For homes or offices with many cables, use a patch panel. It lets you keep all cables in one place and makes troubleshooting easier. A patch panel also helps manage cables neatly and keeps them labeled. Heritage Cabling recommends this setup for anyone who wants a clean, professional look.
Connecting to a Network Switch and Testing Your Setup
Once your cables are installed and wall jacks are ready, connect everything to a network switch. This device lets you share the internet between multiple devices. If you’re using Power over Ethernet (PoE), your switch can also power devices like cameras or access points through the same cable.
Use a cable tester to check each line. Plug in one end to the wall jack and the other to the tester. If the lights match, your cable is good. This step ensures your system works before connecting your router or other devices.
Special Tips for Residential Network Cable Installation
Installing network cable in a house is a little different than in an office. You may need to work in tight spaces like attics or behind drywall. Plan carefully and consider your future needs. For example, you might want to add extra jacks for smart TVs, gaming systems, or printers.
Also, think about where your modem or router is located. Try to keep your cable runs as short as possible for better speed. Structured cabling helps keep everything tidy and avoids a tangle of wires. At Heritage Cabling, we always recommend planning to save time and money later.
Choosing the Right Ethernet Installer in Dallas, TX
If you live in Dallas, TX, and aren’t sure where to start with network cable installation, consider working with professionals. An experienced Ethernet cable installer will know the best way to run cable, set up wall jacks, and connect your system. They also know local codes and can avoid problems like drilling in the wrong place.
Heritage Cabling has helped many homes and businesses in the area get fast, stable networks. Whether you need a single Ethernet run or a full wired network setup, we’re here to help. From patch panels to wall plates, we provide neat, organized solutions that work.
Final Thoughts: Making a Reliable Network Investment
Learning how to install network cable is a great way to improve your internet connection. Wired networks offer better speed, more stability, and stronger security than wireless. By choosing the right cable type, using the proper tools, and planning your setup, you can build a system that lasts.
Even if you start small, like adding one cable to your gaming PC or work desk, you’ll notice the difference right away. A good network is a smart investment for both homes and businesses.
Need help setting up your network the right way? Reach out to Heritage Cabling today for friendly support and professional-grade installation you can trust.